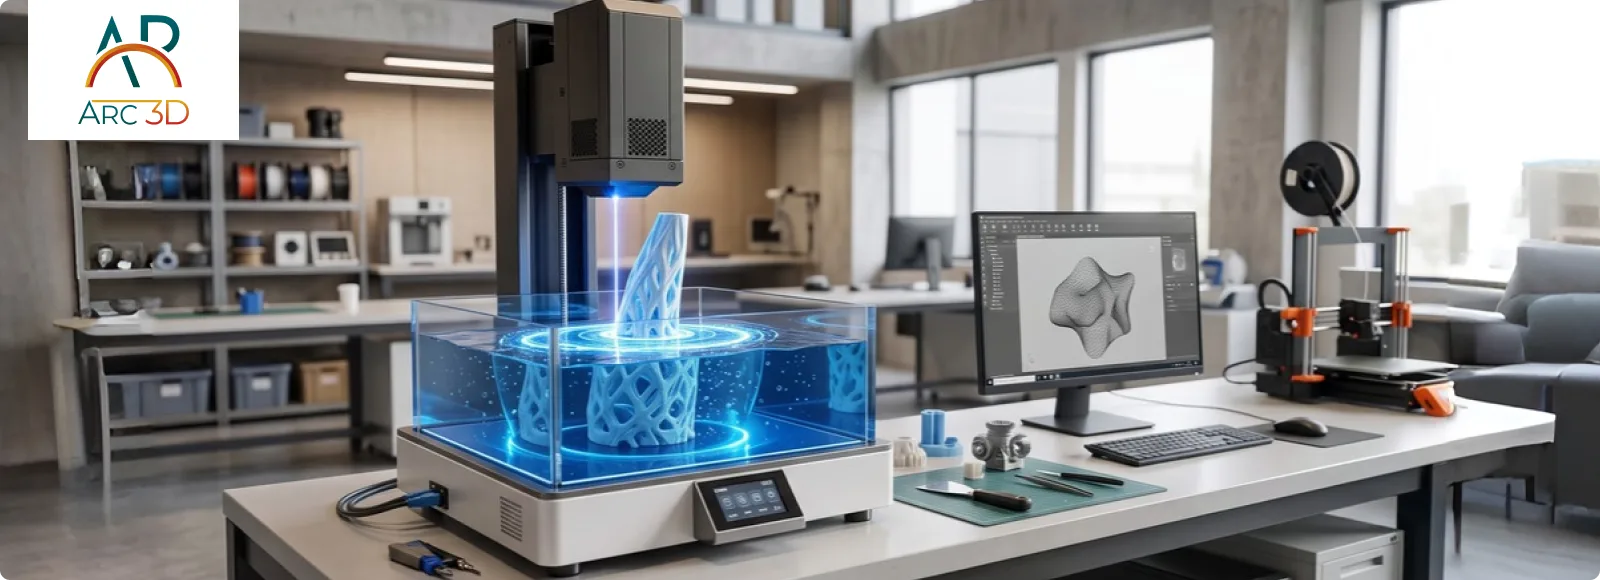
That is the point at which teams discuss it whenever they speak of how 3D printing for product development transformed their process. Print overnight, feel it, figure out what’s wrong, print again the next day. No supplier waiting game, no tooling discussion. A tangible result on your table within a day.
This is all about describing the real processes of 3D printing services, from the realization of an idea to its prototype stage.
What Is 3D Printing for Product Development?
3D printing is a technique that allows the creation of a concrete object from a digital model by making each layer of the design. Additive manufacturing is the more technical term used in this case and it refers to the process of product design that includes this technique in all phases of product manufacture.
In traditional manufacturing, material is either cut or pressed into the required shapes.
Both are good at volume. Both also turn early design mistakes into very expensive ones. Printing skips the tooling entirely so a design change means editing a file, not ordering a new tool and waiting weeks for it. Used to cost thousands and take ages. Now it costs an afternoon.
That's the actual shift. Not the machines themselves. The fact that teams can get real physical feedback on an idea before committing serious money to it.
3D Printing Product Design Process: From Concept to Final Product
The 3D printing design process runs through roughly the same stages on most product projects, even if the order shifts a little.
Write the brief before opening CAD
What does the part need to do? What loads will it carry? What temperature range does it live in? How should it feel, how many are needed? A component that lives inside a car sitting in a Dubai parking lot in August has completely different requirements from a shelf display piece at an exhibition. Teams that skip this and jump straight into modelling tend to discover that gap around the third expensive reprint. Not ideal timing.
Design Considerations for 3D Printing
Good 3D printing product design means building geometry the process can actually handle well. Walls thick enough to survive handling — 1.5 to 2mm is a common FDM starting point. Part orientation so layer lines don't fall where stress concentrates. Clearances wherever two components need to fit together. Ten minutes of thought here genuinely saves hours of troubleshooting later on.
Run a Cheap Looks-Like Model
Fast settings, basic material, not built to last. Checks overall size, proportions and whether ergonomics work as imagined. This is where most teams find out the button is in the wrong spot. Costs almost nothing to fix at this stage and a lot more further down the line.
Build a Works-Like Prototype
Real material this time. Test the fit, the snap, drop it on concrete and see what survives. Some assumptions hold up here. Others don't. That's genuinely the whole point of running this stage.
Iterate until it's actually right
Change what needs changing, reprint, test again. Three or four rounds is pretty normal. Each one costs a fraction of a single tooling change and takes days instead of weeks.
Finish and pick a production path. Sand, prime and paint whatever needs a proper surface. Same finishing work that goes into how 3D printing brings cosplay characters to life in contexts that look nothing like engineering but share the exact same process discipline.
Then decide: print the run for small volumes or hand a validated design to injection moulding for larger ones. Very large parts get built in sections, which is where large scale 3D printing becomes relevant.
How 3D Printing for Prototyping Speeds Up Product Development
Patience is a traditional prerequisite for successful prototyping. 3D printing for prototyping changes that, but it helps to see why the old way was so slow. For machined parts there is setting up and programming involved. For moulded parts, there is tooling, which takes weeks to produce and comes with significant costs prior to producing anything tangible. All of which makes traditional prototyping push people into being committed to a design without really stress testing it properly. This is exactly where product development with 3D printing flips the usual order. Test first. Decide afterwards.
3D-printing based prototyping turns the process around. Test first. Decide afterwards.
Three types of prototype account for most of the prototyping workload. Concept models help set up the form and dimensions. Form and fit prototypes test assembly of various parts. Functional prototypes take the stress, including loads, heat and dropping, that the final product will encounter. Since no tooling is needed between conception and tangible product, testing three different designs at the same time becomes common practice and not necessarily budget related one.
Another less noisy aspect, which is rarely mentioned, is the fact that tangible components elicit better responses than digital renders. Users pick up physical components, try them out at the angle at which they would be used in real life, and immediately tell you what's wrong with them. This type of response comes from touching physical components rather than seeing pictures on a screen.
Benefits of 3D Printing in Product Development
The benefits of 3D printing in product development tend to stack across a project rather than arriving all at once.
- Speed. Days to a first physical part rather than weeks. That gap alone changes how many iteration rounds fit inside a realistic schedule.
- Cheaper failures. A bad print costs material and a few hours. A bad mould costs considerably more and the lesson arrives much later in the project when the options for responding are a lot narrower.
- Geometry that machining can't reach. Internal channels, lattice structures, merged assemblies. Parts that were once five separate components sometimes become one printed piece.
- Small volumes that make sense. Short runs don't need tooling to justify themselves. Opens product categories that traditional manufacturing prices out at low quantities.
- Less material waste. 3D printing uses material only where needed, reducing waste compared to cutting material from a solid block.
Worth knowing the limits too. Surface finish usually needs post-processing before a part looks properly finished. Material range is narrower than moulding offers. At high production volumes the cost per part eventually falls behind traditional methods. None of that makes 3D printing the wrong choice but assuming otherwise leads to problems.
SLA vs FDM vs SLS: Choosing the Right Technology for Your Product
Each process has its own character. A wrong match for the job shows up as a cracked part, a surface that lets the product down in a presentation, or both at the same time. Understanding FDM vs SLA vs SLS printing can help you choose the right technology for your product.
| Technology |
Best for |
Watch out for |
| SLA (resin) |
Fine detail, smooth surfaces, display models |
Brittle under real load, sensitive to UV and heat |
| FDM (filament) |
Affordable early prototypes, larger structural parts |
Layer lines visible, weaker across layer boundaries |
| SLS (nylon powder) |
Tough functional parts, complex shapes without supports |
Grainy finish, higher cost on single parts |
Practical starting point: find the part's single most important requirement, whether that's finish quality, mechanical performance or budget, and eliminate whatever fails that test first. Material choice refines it from there. Worth taking the time to choose the right 3D printing material before the job starts. Discovering a mismatch after a part fails mid-test is a frustrating way to learn that.
ARC 3D runs all three processes in-house. Process and material get decided together by the same people rather than passed between suppliers who each only see part of the picture.
How Long Does 3D Printing Take in Product Development?
Anyone giving a confident single answer without first seeing the file is doing some fairly aggressive guessing.
Small FDM parts finish in a few hours. Larger builds run a day or more depending on geometry. SLA takes several hours to a full day plus washing and curing after the print ends. SLS works in batches so factor in roughly a day or two including cooling and powder removal. Finishing sits on top of all of that and on parts that need a proper painted surface, sanding, priming and painting can honestly take longer than the actual print did.
The more useful number is the full design loop rather than individual print times. A first prototype can be in hand within days of sending the file. Three or four iteration rounds, which is a typical product project, usually wraps the design stage in a few weeks rather than months. Part size, layer height, orientation, how many are in the run and how clean the file is all push that timeline around. For a proper breakdown of every factor, how long does 3D printing take covers all of it.
Why Choose ARC 3D for 3D Printing and Product Development in the UAE?
ARC 3D is a 3d printing and model making company based in Musaffah, Abu Dhabi. 3D Design, printing, scanning, prototyping and finishing done all under one roof. That is important in product development as the people printing the part know the purpose of that part, its requirements and what will happen next after that part leaves the workshop.
Over 50,000 parts delivered to over 2,000 customers in ten different countries. The automotive industry, aerospace industry, health care and consumer goods industries among others. The people have observed how products from these industries perform well and poorly during the prototype process and can easily predict problems with a new product.
Every project starts by asking one question; what should this part be able to do? Come with a drawing, a CAD file or a broken part and what you receive in return is a detailed project plan, good material recommendations and time frame according to the true scope of the job and not just an estimated one.

Conclusion
3D printed product development at its best cuts the road from idea to something you can test, hold and improve. Write a proper brief. Design for the process from the start. Prototype in stages and let physical test results drive decisions rather than assumptions. Match technology and material to what the part genuinely needs. Then decide on production with real data behind you rather than gut feeling.
Teams that treat this as a repeating loop rather than a one-shot process reach launch with far fewer surprises still waiting for them.