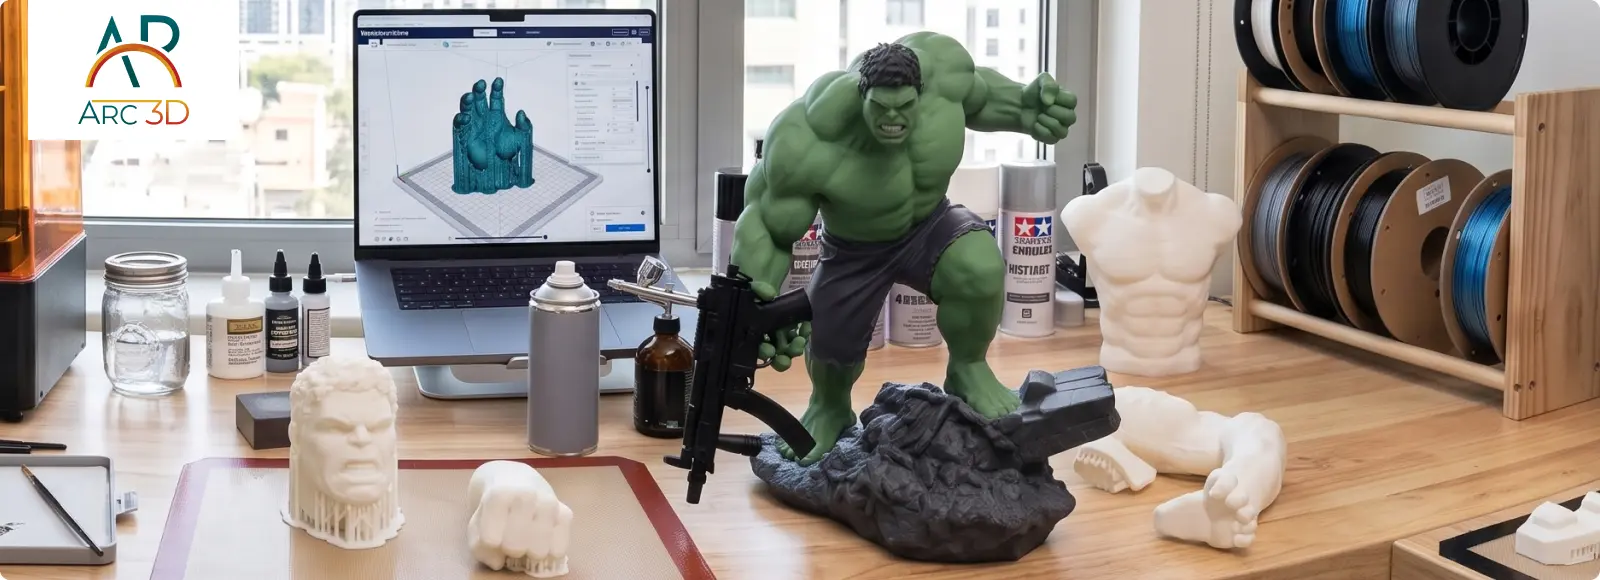
And this is not some fringe thing for the tech-minded few. Walk any convention floor, from the huge international shows to the growing scene here in the UAE, and printed armour is everywhere. The printers got cheaper. The materials got better. The know-how got easier to find. A character that only ever lived on a screen can now be held, worn, and photographed in the real world.
This guide follows that whole journey, concept to costume. What cosplay is, why makers are switching, how the process really works, which technologies and materials to reach for, and how to end up with props that survive a full day on your body. Print at home or work with a studio, either way, you will finish this knowing how a character becomes armour.
Quick Answer: When it comes to cosplay, 3D printing helps to create tangible objects from their digital alternatives. It’s not necessary for every maker to be an expert designer. Whether they model a design from scratch or download it from online resources, it becomes easy to print individual pieces. After that those pieces will be sanded and painted to create a replica that looks realistic.
What Is Cosplay?
Cosplay, short for "costume play," is the art of dressing as a character from a game, film, anime, comic, or your own head. Part craft, part performance. Some cosplayers chase total screen accuracy, down to the last rivet. Others reinterpret a design in their own style. The appeal is the same either way: becoming, for a day, someone you admire.
What started as a niche is now a global culture with a serious community behind it, and that community cares deeply about craft. A convincing costume is not bought, it is built. The quality of that build is where cosplayers earn real respect. Props, armour, weapons, accessories: usually the hardest part, and the most rewarding. Which is exactly where 3D printing rewrote the rules.
Why Are Cosplayers Using 3D Printing?
Ask a maker why they switched and the same reasons keep surfacing:
- Detail. Screen-accurate armour is covered in fine edges, engravings, and shapes that are brutal to cut and sand from foam. A printer reproduces all of it, straight from the file. What took a week of shaping now lands on the bed already sharp.
- Repeatability. Building a matching pair of gauntlets by hand means making the same thing twice and praying they match. Print the file twice. Identical. For anything symmetrical, that is a genuine relief.
- Access. Files can be modelled from scratch, commissioned, or downloaded, then scaled to your body. A design that only existed as concept art becomes something you can wear.
That last one is the heart of it. The reach, from imagination to a physical object in your hands, is what pulls people in and keeps them there.
Understanding the Basics of 3D Printing for Cosplay
The basic concept of printing is to manufacture an object by applying individual layers on top of each other according to a digital design file. In 3D printing for cosplay, this usually means printing individual pieces of a larger prop, costume, or accessory, which are then assembled into a single finished object. Below are some important terms related to the process that beginners should know before trying it out:
- Model / file: the digital design file represented virtually in STL format.
- Slicing: a program that enables conversion of the design file into individual layers and also informs the printer how to implement the task.
- Supports: temporary materials employed for the making of the item and removed in the end.
- Layer height: how fine the detail is. Thinner layers, smoother result, longer print.
You do not need to master all of it to start. But knowing the shape of the process helps you make smarter choices, or ask a studio the right questions. 3d printing for cosplay rewards a bit of planning up front, because what you decide before printing shapes everything that comes after.
The Complete 3D Printing Workflow for Cosplay
Every printed costume, however wild, follows a similar 3D printing and model making process, from designing and preparing the model to printing, finishing, and assembling the final costume.
- Design. Model the piece, commission it, or grab an existing file, then scale it to your measurements so it actually fits. Fit and proportion are won or lost right here, so take your time.
- Slice and print. The file is sliced, settings chosen, printer builds each part. Big pieces like a chest plate or helmet get split into sections to fit the bed.
- Post-process. The real work. Supports off, seams glued, surface sanded and filled to kill the layer lines. This is where a rough print becomes a convincing prop.
- Paint and assemble. Primer, base coats, weathering, detailing. Then straps, magnets, and padding make it wearable.
Only at the very end is the character truly off the screen and on your body. This is also the point where working with an experienced studio like Arc 3D can save a first-timer a lot of pain, since the finishing stage is where most home builds fall down.
Choosing the Right 3D Printing Technology
Two technologies cover almost all cosplay printing, and the right one depends on the part.
The workhorse is fused deposition modelling 3d printing, or FDM. It melts plastic filament and lays it down layer by layer. Affordable, handles large pieces like armour and helmets well, and the materials are tough enough to wear. The downside is visible layer lines that need sanding. For big structural props, though, FDM is almost always the sensible call.
The other is SLA, or resin printing. It cures liquid resin with light for extremely fine detail and a smooth finish straight off the printer. Perfect for the small, intricate stuff. Masks, emblems, jewellery, a figure's face. The catch is that resin parts are more brittle and print sizes smaller, so it suits detail work over big wearable armour.
In practice? Plenty of cosplayers run both. FDM for the large structural pieces, SLA for the fine detail, then marry them in one build.
Best Materials for 3D Printed Cosplay
Material choice decides how a piece prints, how it survives a convention, and how it feels to wear.
- PLA. Cheap, easy, rigid. Fine for props that will not face heat or heavy stress. One warning for the UAE specifically: leave it in a hot car in summer and it can warp.
- PETG. The popular step up. Stronger and more heat resistant than PLA, with a little flex. A solid all-rounder for armour.
- ABS. Tough and heat resistant, good for pieces that take a knock. Fussier to print, though.
- TPU. The flexible one. Bends without snapping, which suits soft joints and accessories.
For 3d printed cosplay props, the honest answer is that most builds mix materials, matching each one to the job the part has to do.
Benefits of 3D Printing for Cosplay
Pulling it together, the wins that make cosplayers switch:
- Detail that hand-building struggles to match, copied perfectly from a file.
- Repeatability, so pairs and remakes come out identical every time.
- Freedom. Almost any shape a designer can dream up can be printed.
- A far more accurate starting point than carving raw material, which means less guesswork and fewer do-overs.
There is a time angle too. 3D scanning and 3D printing can streamline the process by capturing accurate shapes digitally and producing parts with minimal manual effort. Printing may take hours, but it can run unattended while you focus on other tasks. Compared with shaping every curve by hand, this shifts more of your effort toward finishing, painting, and the artistry that brings the final piece to life.
Common Challenges in 3D Printing for Cosplay and How to Overcome Them
Printing is not magic. It helps to know where builds go sideways before they do:
- Layer lines. Every FDM print has them, and they show under paint. The fix is honest graft. Sand, fill with primer or body filler, sand again. No shortcut, but worth every minute.
- Warping and failed prints. Usually the wrong material or settings for the part. A forgiving material like PETG plus dialled-in settings heads off most of it.
- Size. Big pieces rarely fit one bed, so they get split and joined. Plan those splits along natural edges and assembly gets far cleaner.
- Strength. A thin, detailed print can look stunning and snap under real use. Which is exactly why designing for durability, up next, matters so much.
Tips for Designing Durable and Lightweight Cosplay Props
The best props survive a full convention day without cracking, and without wrecking the person wearing them. Mostly that comes down to smart design:
- Wall thickness. Thick enough to hold, not so thick it adds dead weight. Two to three millimetres is a common sweet spot for wearable armour.
- Infill. Lower infill keeps a piece light while it still holds its shape. Most props do not need to be solid.
- Reinforce stress points. Joints, connection points, anything gripped or leaned on. That is where breaks happen.
- Hollow the big pieces. Saves weight, print time, and material in one move.
- Plan the joins first. Build straps, magnets, and seams into the design, instead of forcing them on later.
A prop designed for real wear, not just for looks, is the one that lasts the day.
How to Choose a 3D Printing Partner for Cosplay Projects?
Not everyone wants to own a printer, wrestle with the software, and spend their evenings sanding. For plenty of cosplayers, a studio is the faster road to a professional result, especially on large or complex builds.
If you go that way, check a few things:
- Finishing quality. A clean print is only half the job. The sanding, priming, and paint are what sell a prop.
- Material range. So they can match the right plastic to each part.
- Both scales under one roof. Ideally FDM for big armour and SLA for fine detail, in the same place.
- Honest timelines. Talk it through against your convention date. A rushed finish always shows.
A good cosplay 3d printing service helps with the design and scaling too, not just hitting print, so what comes back actually fits and lasts.
Future Trends in 3D Printing for Cosplay
The tools keep getting better, and cosplay cashes in directly. Printers are getting faster and larger, which means big armour in fewer sections and shorter waits. Materials are improving, with tougher, lighter, more flexible options landing all the time. 3D scanning is getting cheaper, so makers can scan their own body for a perfect fit, or scan an object to recreate it. And as all this spreads, the community's shared knowledge grows with it. The gap between concept art and a wearable, screen-accurate costume shrinks a little more every year.
Why Choose ARC3D for Cosplay 3D Printing in UAE?
Arc 3D is a studio located in Abu Dhabi and Dubai specializing in 3D printing and model creation. Most of its projects are industrial but experience in working with costumes, comic prints, and theme parks sets the studio apart. The studio is famous for its large fantasy figures and very detailed models. This is significant for cosplay since a good costume involves both massive armor and delicate details.
The whole process is done internally, from design to production and painting, with the studio making use of FDM, SLA, and SLS depending on the project For a cosplayer, it means that the studio can create a helmet, armor piece, and decorative elements, each made from the most appropriate materials and finished properly. Every project starts with the same question – which character and how accurately do you want to create?
For makers in the UAE who want screen-accurate props without owning a workshop, Arc 3D turns a character concept into something you can actually wear.

Conclusion
3D printing changed what is possible in cosplay. Sharper detail, repeatable results, shapes hand-building could never quite reach, taking a character from concept art all the way to a costume you can walk onto a convention floor in. The technology handles the precise, complex work, which frees you to focus on the finishing and painting that make a build truly yours.
Print at home or hand the hard parts to a studio, the road from idea to armour has never been shorter. For cosplayers in the UAE ready to bring a character to life, Arc 3D brings the experience, the technology, and the range to make it real.